Prep Work = The Least Favorite, But Most Crucial Part of Painting Furniture!

Prep Work-
Let’s talk about that awful four-letter word that we all despise: PREP.
Prep work is a beast that most of us hate to tackle, and plenty of folks skip altogether. But if you want your beautiful paint job to last...prep work is non-negotiable. I don’t care what any paint brand tells you, you NEED to prep. (And yes, I am fully prepared to receive major backlash for saying this, and I don’t care...I’m unwavering when it comes to prep work. Period.) Depending on the condition of your furniture, your prep work can vary quite a bit. You might get away with 20 minutes of light cleaning or it might take a whole week of work. You need to assess your surface, come up with a game plan, and jump in.
There are four main steps of prep work: Cleaning, Repairs, Sanding, Priming.
Some projects require all 4, some are fine with just 1. You can never do TOO MUCH prepping, but you sure can cut corners and pay for it later. If in doubt, go above and beyond. It’ll make your painting a million times better, I promise. Let’s break these steps down and get to it…
Cleaning:
This is the prep step is necessary, NO MATTER WHAT. Dirt, grime, grease, oils, residue, cobwebs…they all can cause major headaches with your paint (the finish, the adhesion, the durability, etc). If you are dealing with a brand new piece of furniture, straight from the factory, made entirely of raw wood, with no sap, no splintering, no issues what so ever...you can likely get away with a dusting. But just about every other scenario will require some sort of actual cleaning products.
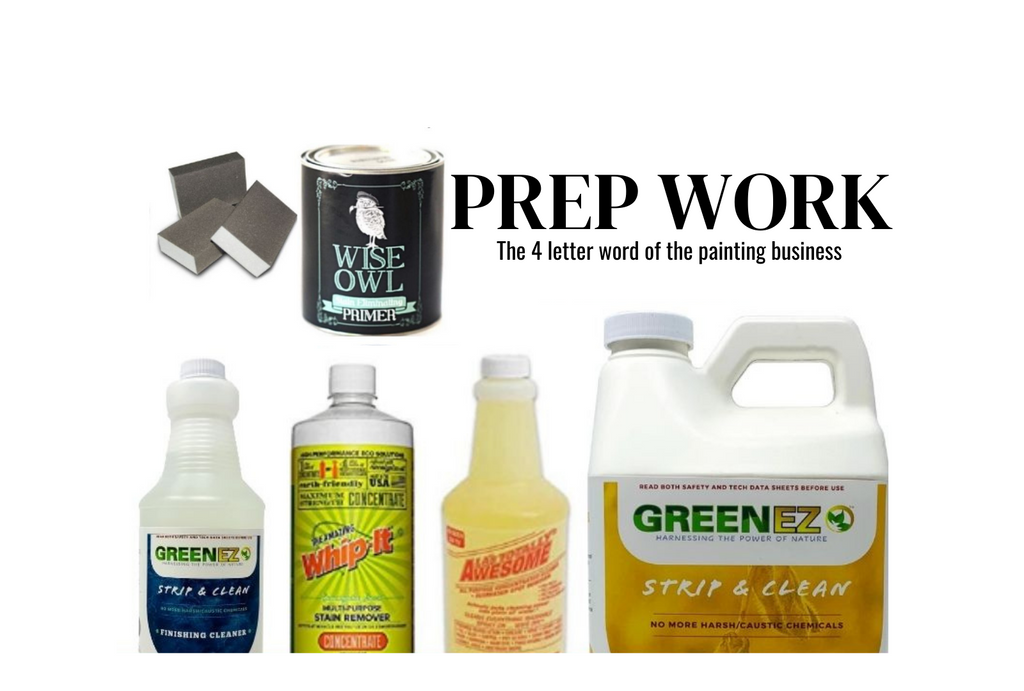
Depending on how dirty your piece is, you may go the gentle route with warm water and some dish soap or a little more hardcore with an all-purpose cleaner (I have two major preferences: LA’s Totally Awesome Cleaner from the dollar store - cheap, tough, but super stinky and not eco friendly or Whip-It from Walmart/Sam’s Club/Amazon - plant-based, strong enough to eat straight through paint, eco friendly and non-toxic). If your piece has a wax coating or was previously cleaned with Pledge or similar furniture polish, you’ll want to grab Mineral Spirits and a scrubby pad or even better, steel wool...get to scrubbing and that topcoat will melt away. If your piece has a somewhat shiny finish, a good deglosser can help dull it and give your furniture a little more tooth for your paint to stick to. I try to stay away from harsh cleaners like TSP. TSP (Trisodium Phosphate) is banned in multiple states, thanks to its crazy dangerous nature. It can cause difficulty breathing, swelling of the throat, vision loss, and skin irritation. It can lead to oxygen depletion in water sources (so think twice before washing it down the drain) and if used to encapsulate lead-based paint, it’ll do a good job of converting that lead dust into lead phosphate, which is great for removal...and awful at the same time because lead phosphate is a possible carcinogen. I just steer clear.

If you've got a more stubbornly dirty piece, or if you are attempting to remove the previous finish entirely, it's time to bring out the big guns. GreenEZ is my go-to because they are insanely strong while also being impressively safe. The finishing cleaner should not be underestimated by any means. This is not a cleaning product for everyday use. Using it on a painted piece of furniture will most likely result in damage to your finish. It's great at removing wax finishes, stains, and even layers of paint. But it shows its real power AFTER you've stripped your paint. If you have paint on your furniture that needs to be removed before tackling your project, use the GreenEZ furniture stripper! Lay a moderately thick layer on, leave it be for 4-6 hours (or even overnight for the most stubborn paints), and then scrape off. Your paint will be removed, but you'll be left with an oily/gel residue due to the nature of the paint stripper. Using soap, water, even degreasers, won't do a thing to remove that oily residue. This is where the finishing cleaner will come to the rescue. It magically removes every bit of oil and grease and gel leftover by the paint stripper. These two products go hand in hand!! If you plan to use the furniture stripper on your project, be sure to grab the cleaner as well to make your job a million times easier!

No matter what your approach, it’s important to get your furniture in the cleanest shape possible…..and then wash it one more time. Yep, I know, I know. But you need one more quick cleaning with plain water to get any possible cleaning product residue off before you move forward. So give it one last rinse before moving on.
***One more little tip about cleaning. A lot of folks choose to clean as the LAST prep step after they do repairs and sand. I completely understand that you’ll have to clean that sanding dust, wood glue residue, etc off in a bit anyway, so cleaning twice seems stupid. But if you sand BEFORE cleaning, you can cause more issues in the long run. Let’s say your furniture was cleaned with Pledge. If you don’t remove the Pledge first, and just jump right in with your palm sander, the heat and pressure from your sander can melt the wax coating on the furniture and push it further INTO your wood. This means you’ll have a much harder time removing that coating later, and dare I say, it may never come up. Clean twice and save yourself the stress.***
Repairs:
Now is the time to fix any defects. Starting with the absolute basics, give your piece a little push...is it wobbly? Are the legs all sturdy or do they need their bolts and screws tightened down? If you have a little give, tighten that bad boy up. I’m a huge fan of wood glue and finishing nails to reinforce sides, backings, etc. If the veneer is lifting, inject a little glue under the surface and clamp, clamp, clamp. If the sides are pulling away, glue it, tie it all down with ratchet straps, and throw some nails in to lock it up. For major separation, I prefer to drill holes and glue in dowels for extra durability and strength. (I love this kit! Its five bucks and comes with a drill bit, guard, and dowels so everything will fit perfectly) If you’ve got chips or divots in your wood or veneer, fill with wood putty or Bondo (I prefer the automotive Bondo, and skip the wood Bondo.). Pull your drawers out and tighten all the slides down with a screwdriver (If they are broken, replace them now before you start painting! You can get replacement kits at any hardware store). If you have missing details, trim, feet, etc...make a mold of the existing pieces and match it up! You don’t want to glue the trim on AFTER you’ve finished painting, so take the time to get it in proper shape now!
Sanding:
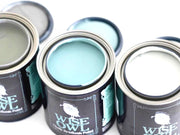
This is a step that may or may not be necessary, depending on what you are dealing with. You may need to sand for two main scenarios...smoothing it out and roughing it up. If your piece has splintered edges, scratches, or imperfections, you can sand it all smooth to create an even canvas for your paint. If your piece is super slick and shiny, sanding can rough it up and give your paint more tooth to grip on to. Wise Owl Chalk Synthesis Paint is pretty adhesive, but it won’t stick to a high lacquered surface, so scuff it up, make it ugly, and give your paint a fighting chance. Start with a rougher grit sandpaper and gradually work your way up to a finer finish. You don’t want to just attack a dresser with 80 grit and walk away...you’ll have a super rough, damaged surface, and it’ll show through your paint finish. Work up to 220 grit to get a smooth surface that still has enough grip for your paint. (If I’m planning to stain instead of paint, I prefer to go all the way up to 400 grit for the smoothest surface.)
Priming:
If you are worried about tannins or stains bleeding through your paint job, prime. If you are worried that your paint won’t stick to a slick surface, prime. If you are painting a super dark piece bright white, prime. If your furniture stinks, prime. If you are painting with enamel, prime. If you are in doubt, prime. Wise Owl Primer is a piece of cake to work with...it's water-based and low VOCs...it goes on just like paint and will give you the best chance at a quality finish.
I hate seeing posts that make major assumptions, saying that your piece just needs a quick cleaning before you can paint. Each piece of furniture is different and each will require different levels of prep work. Personally, I tend to go a little above and beyond with my prep work because I sell my pieces professionally and I NEED them to last the long haul. Take the extra time to properly prep your piece, no matter which brand of paint you are using, and you’ll have a far better experience painting, guaranteed.
And as always, if you are in doubt, send me a picture!!! I’m happy to look over your piece, assess it as much as possible, and come up with a game plan to get it in the right condition before you pick up your paintbrush.
Too Long; Didn’t Read:
- Clean your piece no matter what
- Repair any damages or blemishes before you start painting
- Sand to smooth rough areas and rough up smooth areas
- When in doubt, prime!
(This post may contain affiliate links. These links don't cost you an extra penny, but clicking them to check out products and make your purchases helps my small business out in huge ways. I ALWAYS stand behind my recommendations and I don't promote products that I don't truly believe in. Thanks so much for the support!)
-
Posted in
Furniture Painting Basics, Prep Work, Primer
